TUTORIAL : TIE DYE MAXI – True Bias
By A Mystery Man Writer
Description
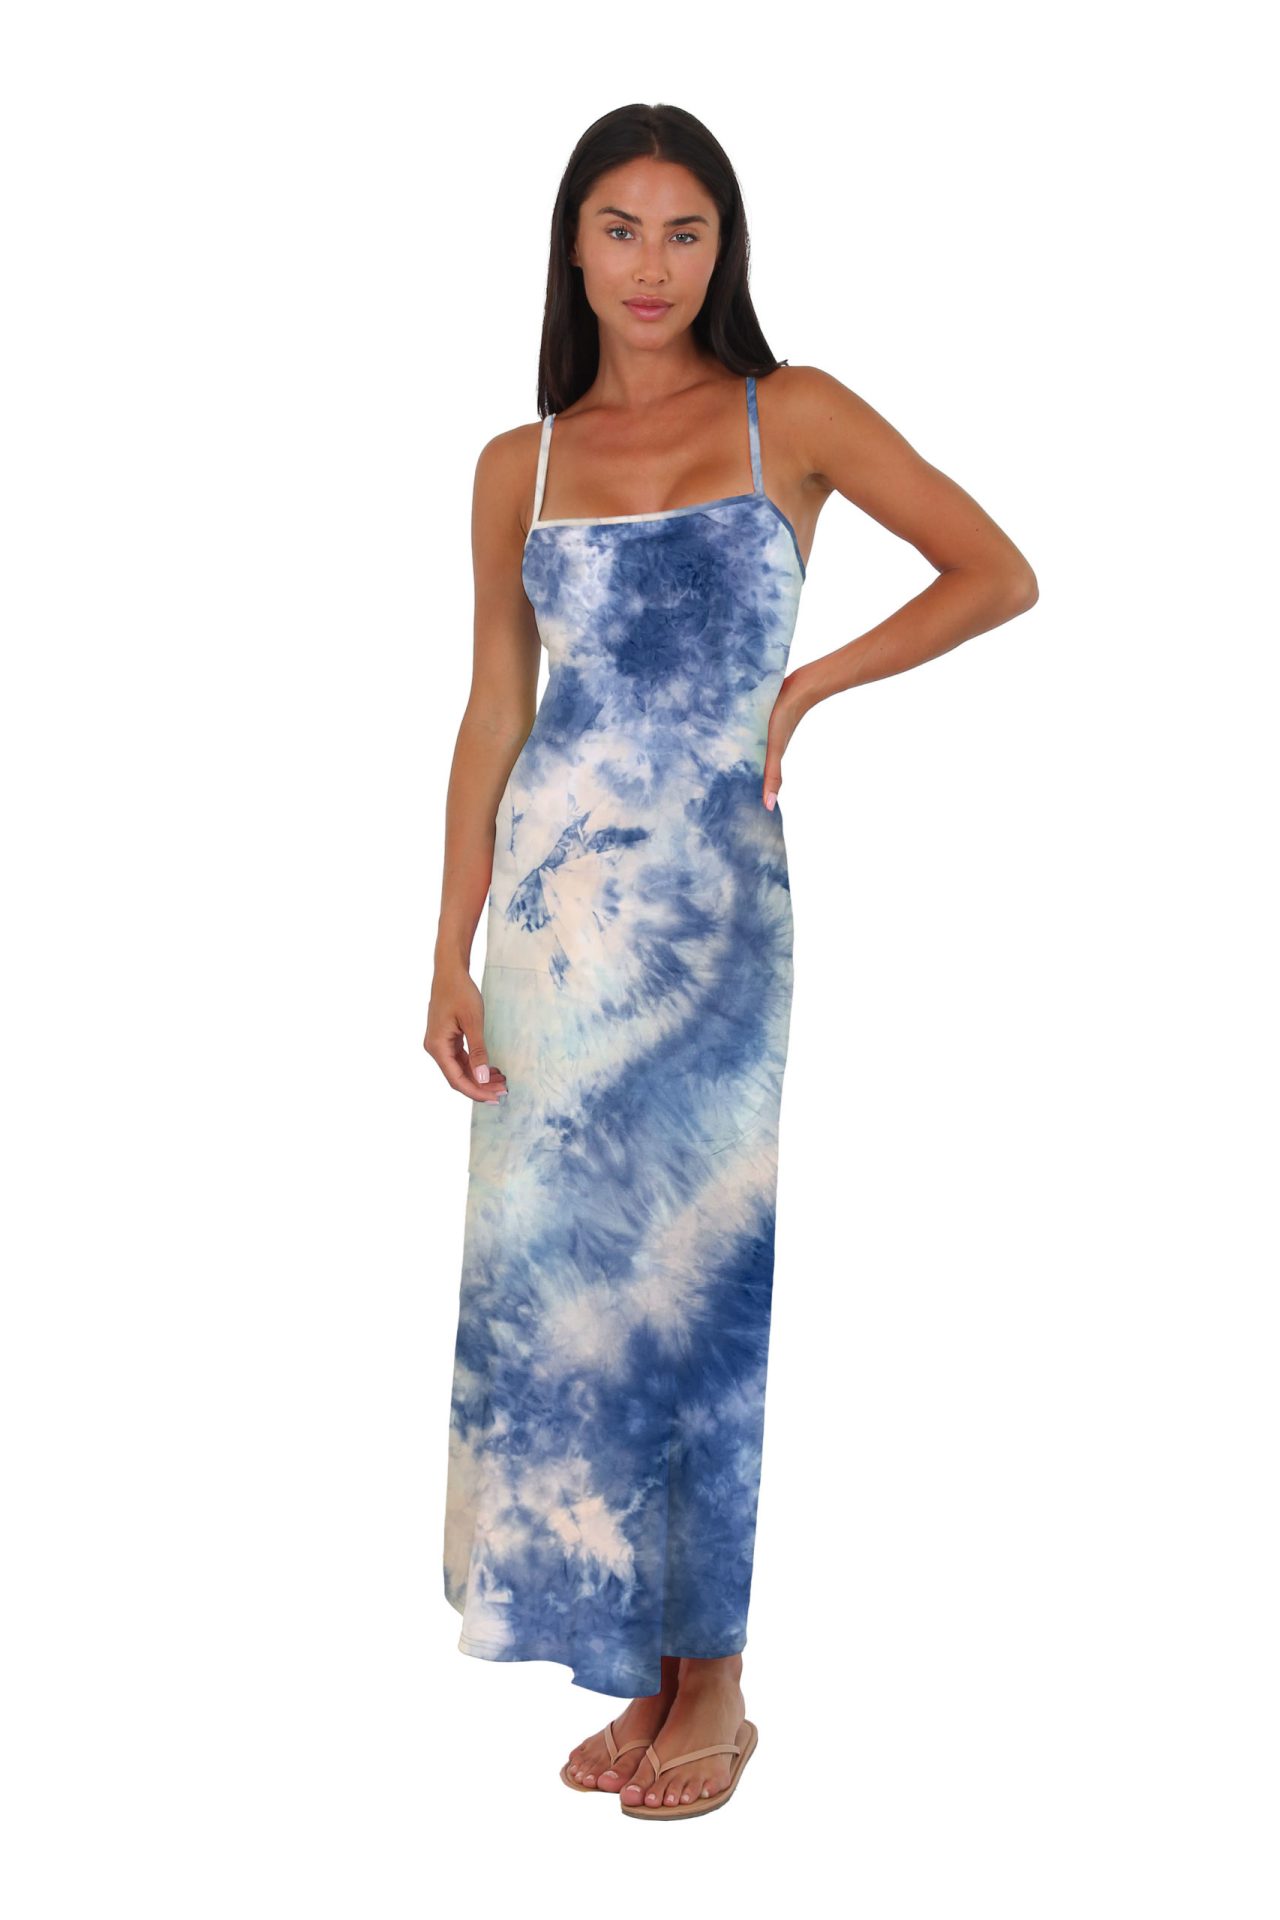
Just finished this tie dye maxi and am kinda in love with it. I have been so excited to show you all. So here is the finished outfit and below that you will find pics of my step by step tie dying.Pattern : Mission Maxi by Jamie ChristinaMaterials Used : White knit fabric from JoAnns (sorry I am not sure what it is made of but probably some cotton/rayon/spandex blend), some Navy Blue fabric Dye, and a lot of rubber bands.Changes : After making another version of this pattern in past, I decided that I wanted a bit more room around the bottom of the maxi. Starting at the hips I graded out to about 2 inches on the bottom on either side of the dress (both front and back). I really like the extra amount of fabric. It just flows a little more and allows for easier walking.What I would change next time : I really don't know if I need more than 2 maxi dresses, but if I do I think I will draft some sleeves and maybe a v neckline for one.Conclusion : Love how this turned out. Not only is this a great fashion forward pattern, but the tie dye was much easier and more fun that I anticipated.Now for some pics/steps for making the tie dye.1-I began by making the dress most of the way. I sewed the side seams, shoulder seam, and attached all of the bindings, but did not do any topstitching or hemming. I wanted to wait on those so that I could match the color of thread to the dyed fabric.2-Then I took rubber bands and twisted them around the entire width of the dress every 4 or 5 inches. I just eyeballed it. I used about 4-6 rubberbands for each section to make sure that they were bold stripes. (hint - my rubberbands kept breaking and so I found if I twisted them three at a time they were stronger and wouldn't break, plus it went faster.)3-Next I mixed my Navy Dylon Dye according to the directions and and let it soak in the dye for an hour stirring occasionally.4-Then I rinsed it in cold water for about ten minutes and then carefully clipped all of the rubberbands off. (the most exciting point).5-Now time for the finishing touches. I washed and dried my dress on warm and then finished stitching the bindings and hem with the matching thread.

Tie Dye Maxi Dress W/ Smocked Top Open Back By Eesome Copper Grey Miss Monroe Boutique
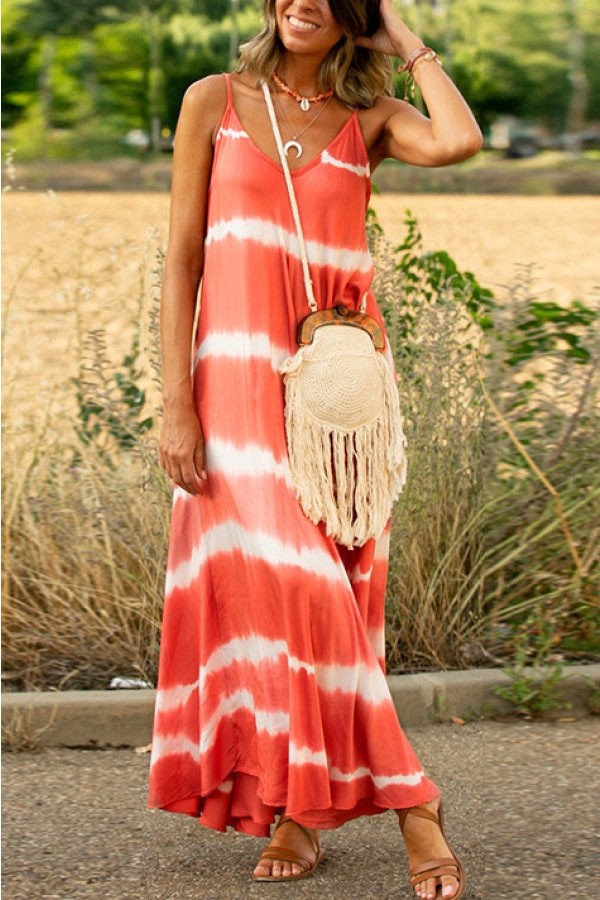
Tie Dye Maxi Dress W/ Smocked Top Open Back By Eesome Copper Grey Miss Monroe Boutique

Tie Dye Maxi Dress W/ Smocked Top Open Back By Eesome Copper Grey Miss Monroe Boutique

Tie Dye Maxi Dress W/ Smocked Top Open Back By Eesome Copper Grey Miss Monroe Boutique

TUTORIAL : TIE DYE MAXI – True Bias

TUTORIAL : TIE DYE MAXI – True Bias
Tie Dye Maxi Dress W/ Smocked Top Open Back By Eesome Copper Grey Miss Monroe Boutique

TUTORIAL : TIE DYE MAXI – True Bias
from
per adult (price varies by group size)